The photographs make this look like a decorating decision. It is mostly a plumbing and drainage decision wearing a nice cedar screen.
Which is not an argument against it. An outdoor shower is one of the few home additions that people consistently report using more than they expected, and the good ones cost less than a mid-range appliance. But the difference between a shower you use every day in July and a wet corner of the yard you avoid comes down to four things decided before anything gets built: where it goes, whether it has hot water, how private it feels, and where the water ends up.
Where an Outdoor Shower Actually Belongs
Four candidate positions, in descending order of how well they usually work.
Against an exterior wall of the house, ideally backing onto an existing bathroom or laundry. This is the cheapest to plumb by a wide margin, because the supply lines are already on the other side of that wall. It also gives you one solid wall for free.
Beside a back door or mudroom entrance. The practical choice for households with dogs, children, gardens or beaches. Its value is that people actually rinse off before coming inside, which was the original point.
Next to a pool or hot tub. Often required by local code for pools, and it keeps sunscreen and lotion out of the water.
Freestanding in the garden. The most beautiful option and the most work. Long supply runs, drainage without a nearby downspout, and a privacy problem to solve from all four sides.
Two site factors that get overlooked: sun and wind. A shower in permanent shade stays damp, grows algae on its decking, and is unpleasant in anything but high summer. Morning or afternoon sun dries the structure and extends the usable season. A shower in a wind channel between two buildings will feel cold in eighty-degree weather.
Hot Water or Cold Only: The First Decision
Everything downstream depends on this, so decide it first and honestly.
Cold only. A hose bib and a shower head. It costs almost nothing, needs no permit in most places, and works from June to September in most of the country. If your use case is rinsing off sand, chlorine or garden dirt, this is genuinely sufficient and most people over-build past it.
Solar bag or solar-heated pipe. A black tank or coil that warms in the sun. Charming, functional in real summer heat, unreliable in shoulder season, and effectively decorative in the Pacific Northwest.
Tankless propane heater. A wall-mounted unit fed from a hose and a propane cylinder. Genuine hot water without touching the house plumbing. Around $150 to $400, wants weather protection and clearance, and it extends the season substantially.
Tapped into house hot and cold. The full version. A mixing valve, real temperature control, and a shower you will use in October. It is a plumbing job, it usually needs a permit, and it introduces the winterizing question below.
The honest guidance: if this is your first outdoor shower, build the cold version this season. You will learn whether the location is right, how often you actually use it, and whether the privacy solution holds up, all before committing to plumbing.
Privacy Without Building a Box
The failure mode here is over-correction. A fully enclosed booth solves privacy and removes the entire reason for showering outdoors, which is being outdoors.
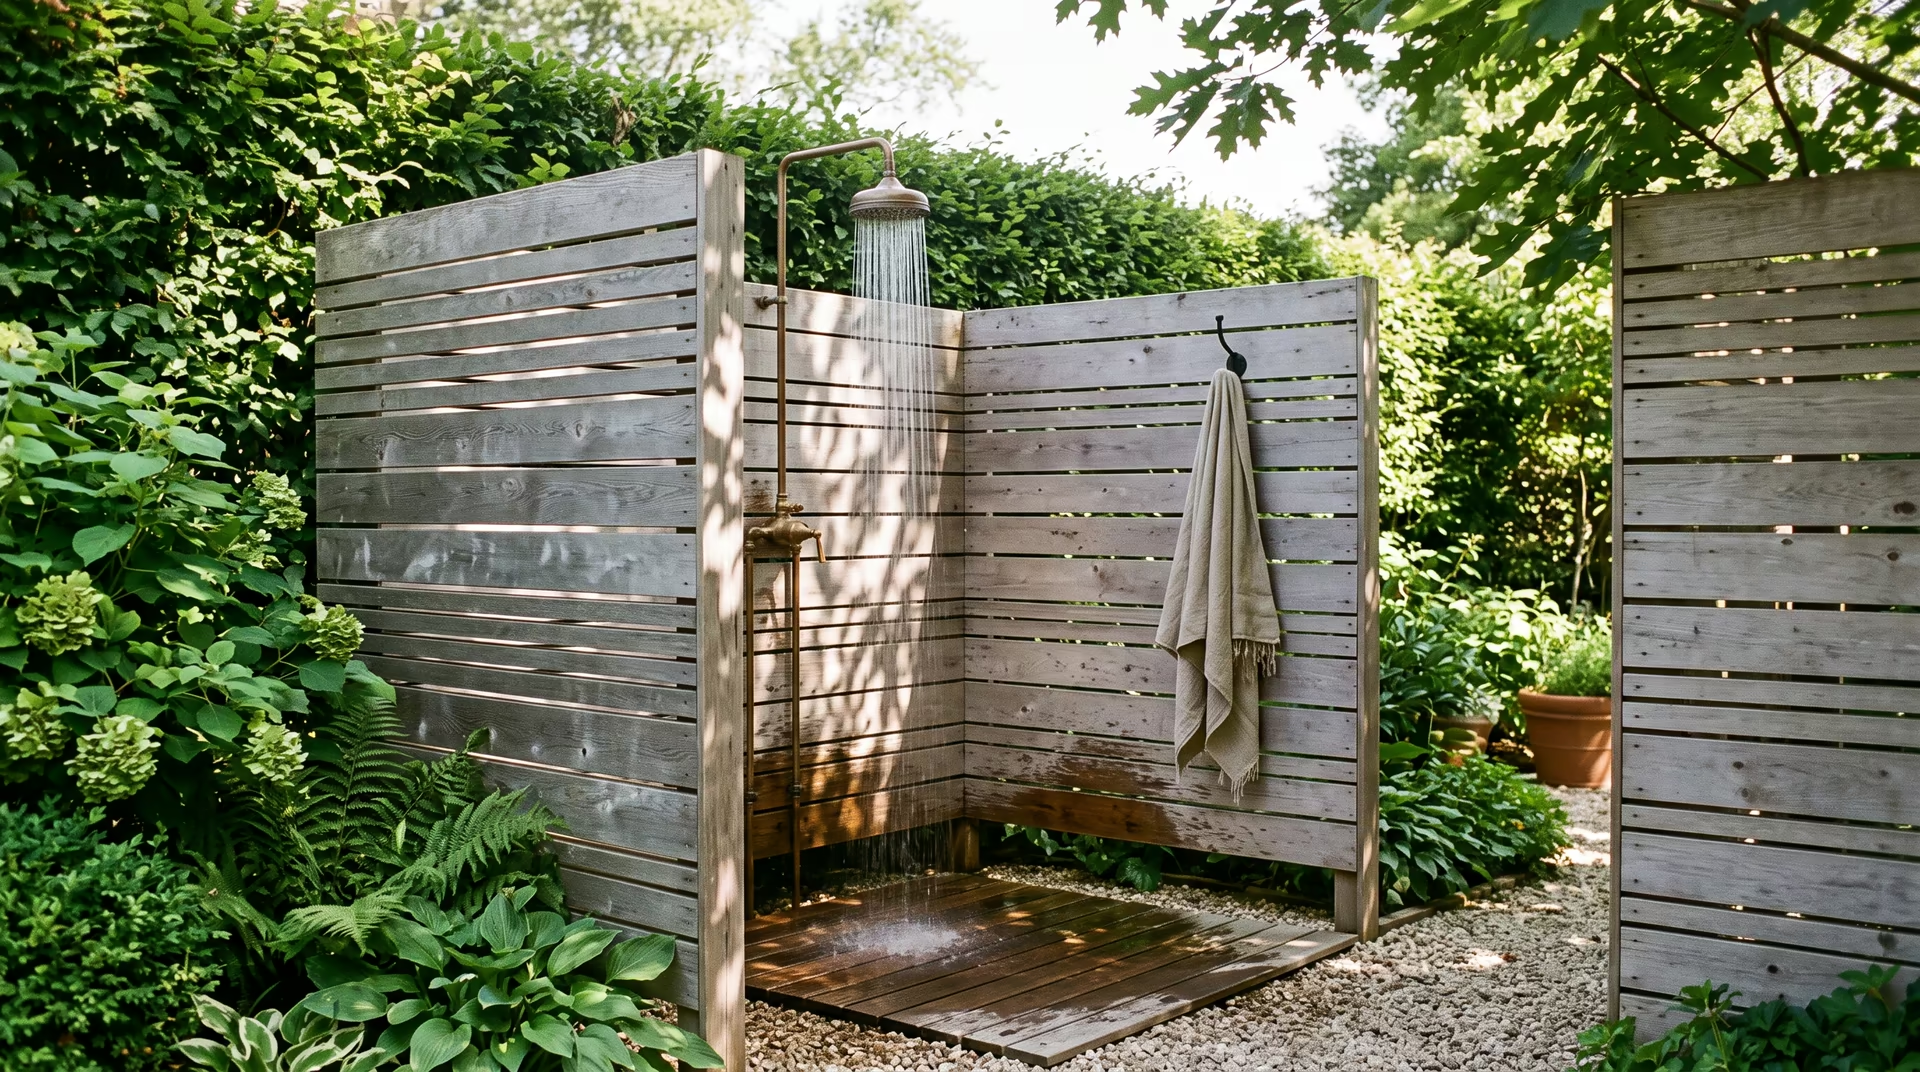
Slatted screens are the standard answer, and the spacing is the whole craft. Half an inch to three quarters of an inch between boards gives you visual privacy at an angle while keeping air and light moving. Horizontal slats read modern; vertical read traditional and shed water slightly better.
Three sides, not four. Leave the least-exposed side open, or open at the top and bottom. A screen that stops twelve inches above the ground and eighteen inches below the top rail feels dramatically less claustrophobic and is barely less private.
Height. Six feet blocks a standing sightline at ground level. Seven is needed if there is a second-storey window nearby. Measure from the neighboring vantage point rather than from your own.
Living screens. Clumping bamboo, hornbeam, arborvitae, or a trellis with evergreen climbers. Slower, softer, and better looking than any built screen. Combine with a partial built element for the first two years while it fills in.
Use what is already there. A garage wall, a fence line, a mature hedge, a change in grade. The best outdoor showers usually solve most of their privacy with existing site features and add one panel.
Overhead is worth considering. Not for privacy from neighbors, but a partial pergola or an overhang makes the space feel enclosed without walls, and keeps leaves out of the drain.
The Floor and Where the Water Goes
More outdoor showers are ruined by drainage than by anything else.
The simplest good solution is a bed of washed gravel eight to twelve inches deep over a dry well, with wooden duckboards on top to stand on. Water passes through, disperses into the ground, and there is nothing to clog. It costs very little and it works.
Pavers or stone with open joints over the same gravel base gives a more finished look with the same drainage behavior.
A concrete pad must be sloped to a drain, and that drain has to go somewhere legitimate. This is the version that needs the most planning and the most permission.
Three rules that apply regardless:
Never drain toward the foundation. Water against a house wall is a problem that arrives quietly and expensively. Slope away, always.
Check your local greywater rules. Many jurisdictions allow simple soap-and-water discharge to a garden; some require connection to the sewer. This varies enormously and it is worth a phone call.
Keep the decking off the ground. Duckboards on sleepers dry from below. Boards laid directly on soil rot within three seasons.
Use biodegradable soap and shampoo if the water is going into the garden. It matters more than people assume, and it also means the shower can water a plant bed rather than just soaking a patch of lawn.
Materials That Survive Outside
The material list is short, because the conditions are hard.
Wood: Western red cedar is the default — stable, naturally rot-resistant, silvers beautifully if left unfinished. Teak and ipe last longer and cost considerably more. Thermally modified ash or pine is the newer option, dimensionally stable and reasonably priced. Avoid pressure-treated pine anywhere skin touches it.
Metal: Brass and copper for fittings, both of which patina attractively. Stainless steel needs to be 316 grade if you are within a few miles of salt air — the more common 304 will show rust spots within a year on the coast. Powder-coated aluminum is a good, light, inexpensive middle option.
Stone: Bluestone, limestone, granite setts. Heavy, permanent, and the best-looking floor if the budget allows.
What fails: chrome-plated interior fittings, mild steel hardware, untreated softwood, plastic anything in direct sun, and standard interior shower valves used outside.
Eight Outdoor Shower Styles That Work
Wall-mounted against the house
The cheapest genuinely good version. One existing wall, one added privacy panel, plumbing straight through from inside. Works in a side yard three feet wide.
Freestanding cedar post
A single vertical post with a head and a valve, set in a gravel bed, no enclosure at all. Suits rural and coastal properties where privacy is not a concern. Beautiful, minimal, seasonal.
Slatted cedar enclosure
Three walls of horizontal slats, an open top, a duckboard floor, a hook and a small bench. This is the archetype and it is the archetype because it works.
Stone alcove
Built into an existing masonry wall or a raised bed retaining wall. Cool, permanent, and it reads as architecture rather than as an addition.
Poolside rinse post
Low, unobtrusive, often with a foot rinse at the base. Function over drama, and frequently required by pool code.
Under a tree
A head mounted on a mature trunk with a stone floor beneath. Charming in photographs, requires accepting leaf litter and a floor that stays damp. Best in dry climates.
Greenhouse or glass enclosure
Frosted or reeded glass panels on a frame. Contemporary, expensive, and it turns the shower into a genuinely warm space in shoulder season.
Outdoor tub and shower pair
A soaking tub alongside a shower head, sharing one supply and one drainage field. The most indulgent version, and the one that connects directly to a contrast-bathing routine.
Plumbing: Simple, Middling, Permanent
Simple. A hose from an existing bib to a shower head on a post or wall. No permit, no digging, disconnected in October. An afternoon of work.
Middling. A dedicated cold line run from the house with a shutoff valve on the interior side, plus a tankless propane heater for hot. One trench, one wall penetration, no interaction with the house’s hot water system. This is the sweet spot for most properties.
Permanent. Hot and cold supply lines from the house, a proper thermostatic or pressure-balancing mixing valve rated for exterior use, and a drain connected to the sewer or an approved dispersal field. Permits, an inspection, and a plumber. This is what you build once you know you want it.
Whatever tier you choose, put a shutoff valve inside the house. Every winterizing problem below is easier with one and difficult without.
Winterizing, and Whether You Can Use It Year-Round
In a climate that freezes, an outdoor shower with supply lines is a burst pipe waiting for the right night.
The drill: close the interior shutoff before the first hard frost, open the exterior valve and shower head to drain the line, and leave it open all winter. On longer runs, blow the line out with compressed air. Insulate any exposed pipe that cannot be drained.
Frost-free hydrants and heat tape allow year-round use in moderate winters. In genuinely cold regions, a year-round outdoor shower needs the supply line buried below the local frost depth and a self-draining design, which is a real engineering decision rather than an accessory.
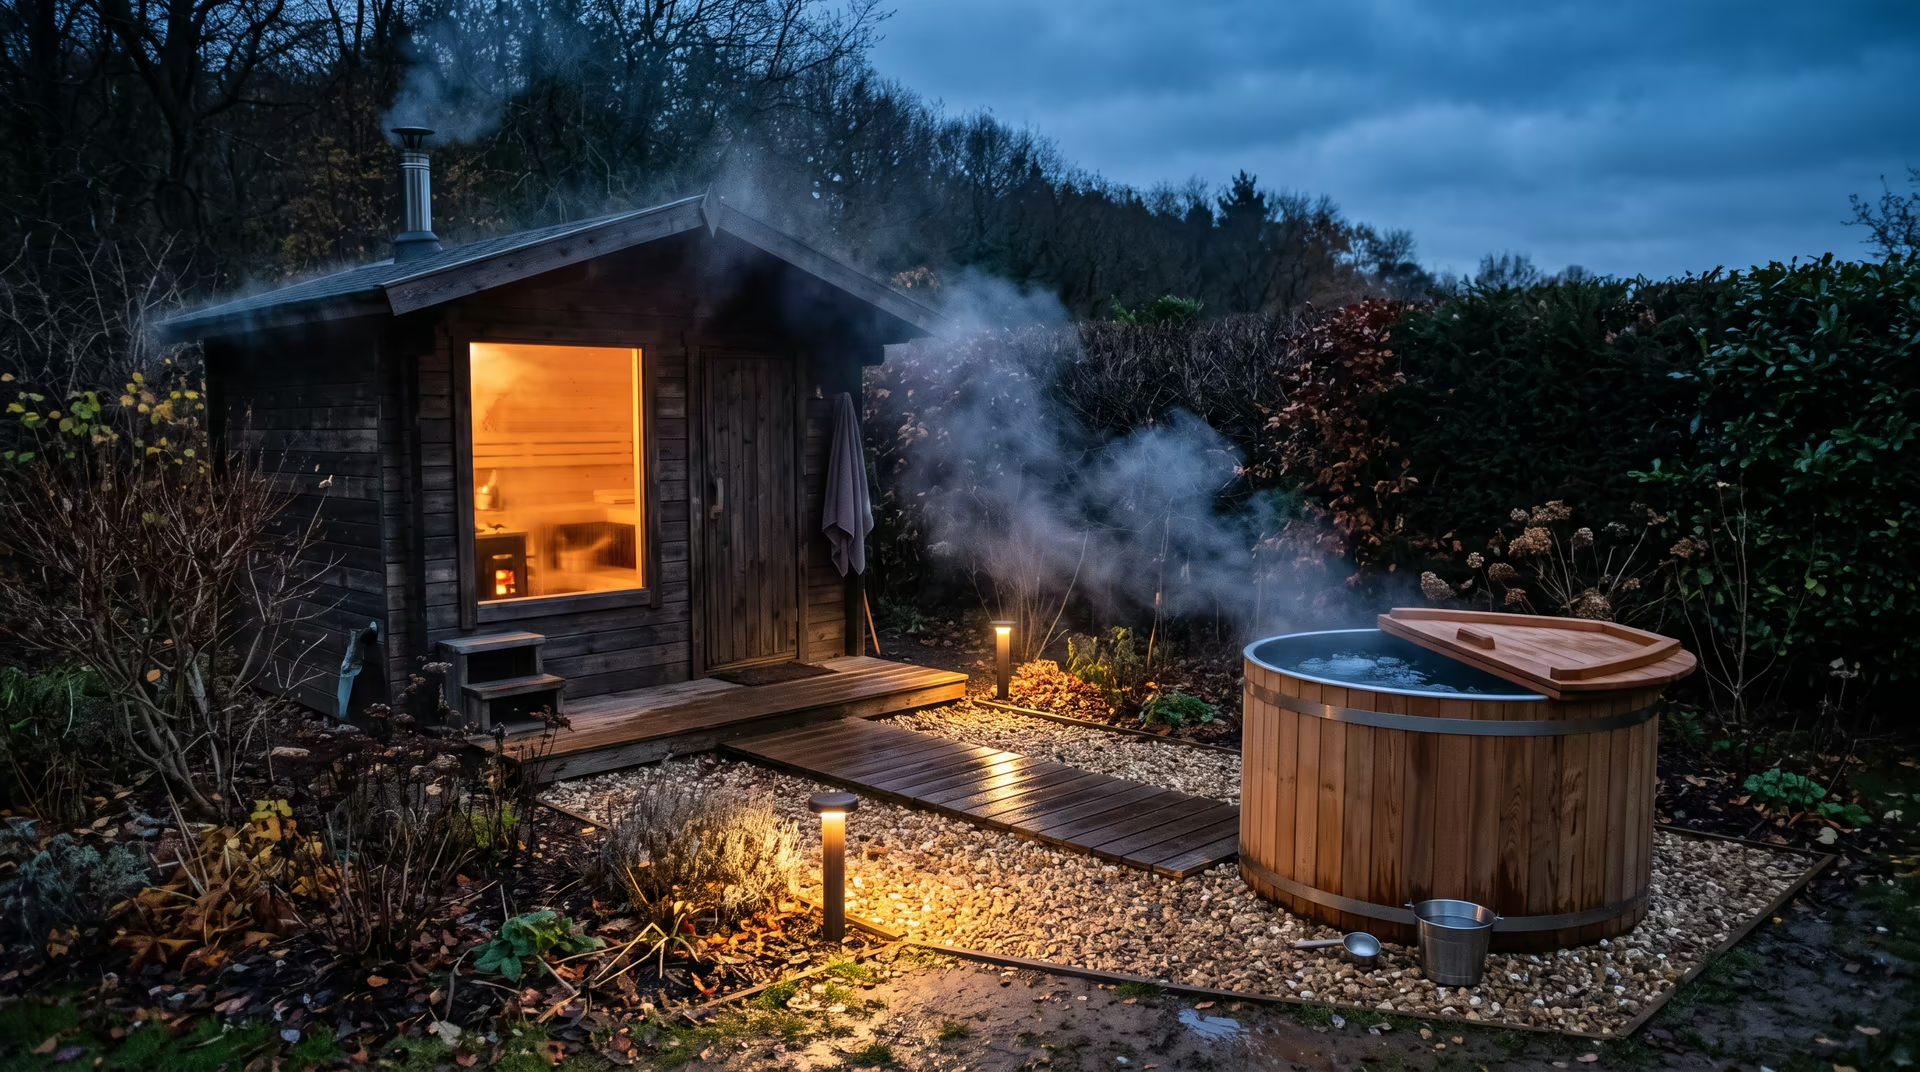
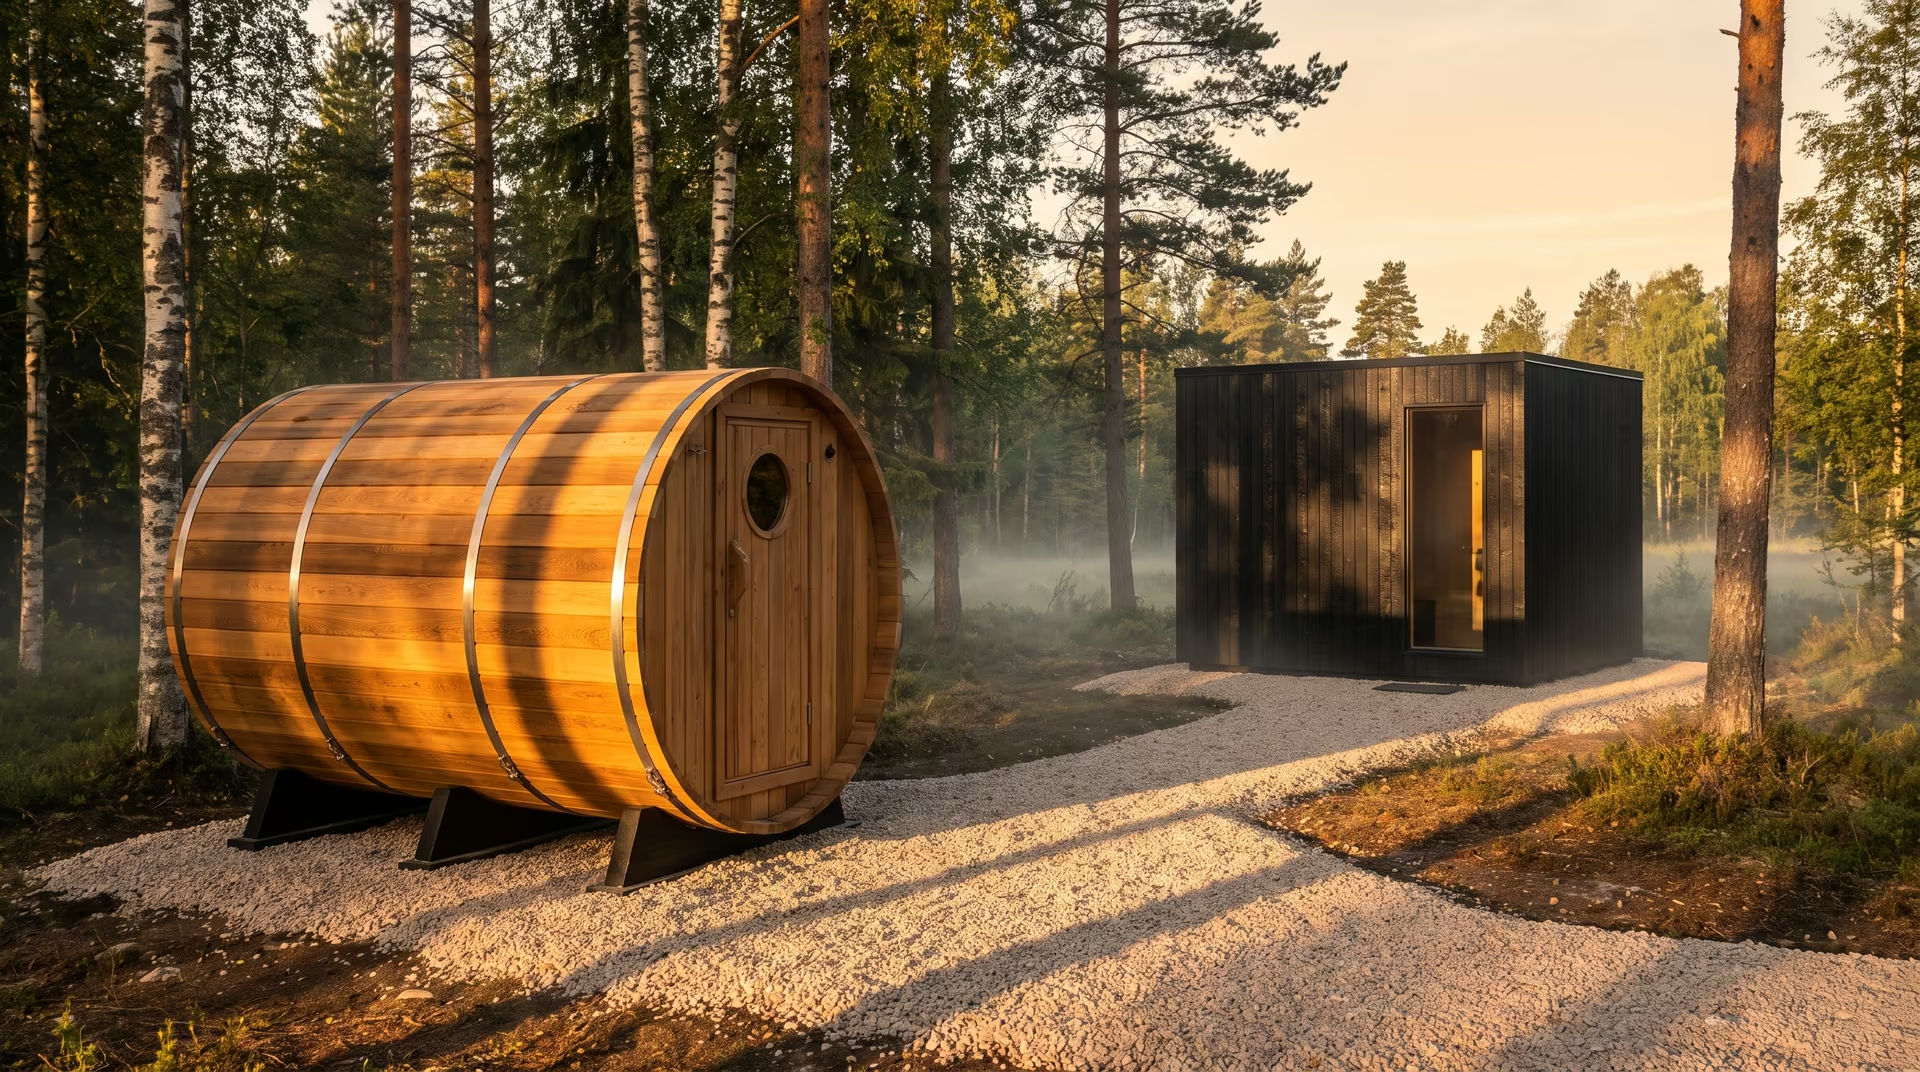
Cold-climate year-round use is a real thing, and it is usually paired with a sauna, where the point is the contrast rather than the comfort. If that is the plan, say so at the design stage — the pipe routing is entirely different.
What It Costs
| Version | Cost | Time |
|---|---|---|
| Hose-fed head on a post | $100–300 | An afternoon |
| Wall-mounted with privacy panel, cold only | $400–1,200 | A weekend |
| Slatted enclosure, gravel and duckboard, propane hot water | $1,500–4,000 | Several weekends |
| Full plumbed installation, stone floor, permit | $6,000–15,000 | Contractor, several weeks |
| Architectural build with glass, tub, lighting | $20,000+ | Design and build |
The second and third tiers cover almost everyone. The jump to full plumbing buys shoulder-season use rather than a better shower.
Common Questions
Do I need a permit for an outdoor shower?
Usually not for a hose-fed shower with no permanent plumbing. Usually yes once you run supply lines from the house or install a drain. Requirements are set locally, so check with your building department rather than relying on general advice.
Where does the water go from an outdoor shower?
Into a gravel bed and dry well in the simplest builds, or into a drain connected to your sewer or septic system in permanent installations. Local greywater regulations determine which is allowed, and they vary widely between jurisdictions.
How do I make an outdoor shower private?
Slatted screens on three sides with half-inch gaps, six to seven feet high, positioned to use existing walls and planting for the remaining sides. Full enclosure is rarely necessary and removes most of the appeal.
Can I use an outdoor shower in winter?
Only if the supply lines are buried below frost depth or the system is fully drainable. Most outdoor showers are seasonal, shut down in autumn and reopened in spring. Year-round versions exist and are usually built alongside a sauna.
What is the best wood for an outdoor shower?
Western red cedar for the balance of cost, rot resistance and appearance. Teak or ipe if the budget allows and you want thirty years rather than fifteen. Leave any of them unfinished and let them grey, or oil annually if you prefer the original color.
Do I need hot water?
Not for rinsing off after swimming or gardening, which is what most outdoor showers get used for. Hot water roughly doubles the usable season and roughly quadruples the cost and complexity, so decide based on how you actually plan to use it.
Keep Reading
- Sauna and Cold Plunge: How to Set Up Both at Home — If the shower is part of a larger backyard setup.
- What Contrast Therapy Actually Is — and How to Do It at Home — A cold shower is a legitimate cold plunge to start with.
- Spa Bathroom Ideas: 9 Changes That Actually Make the Difference — The indoor equivalent, mostly without renovation.