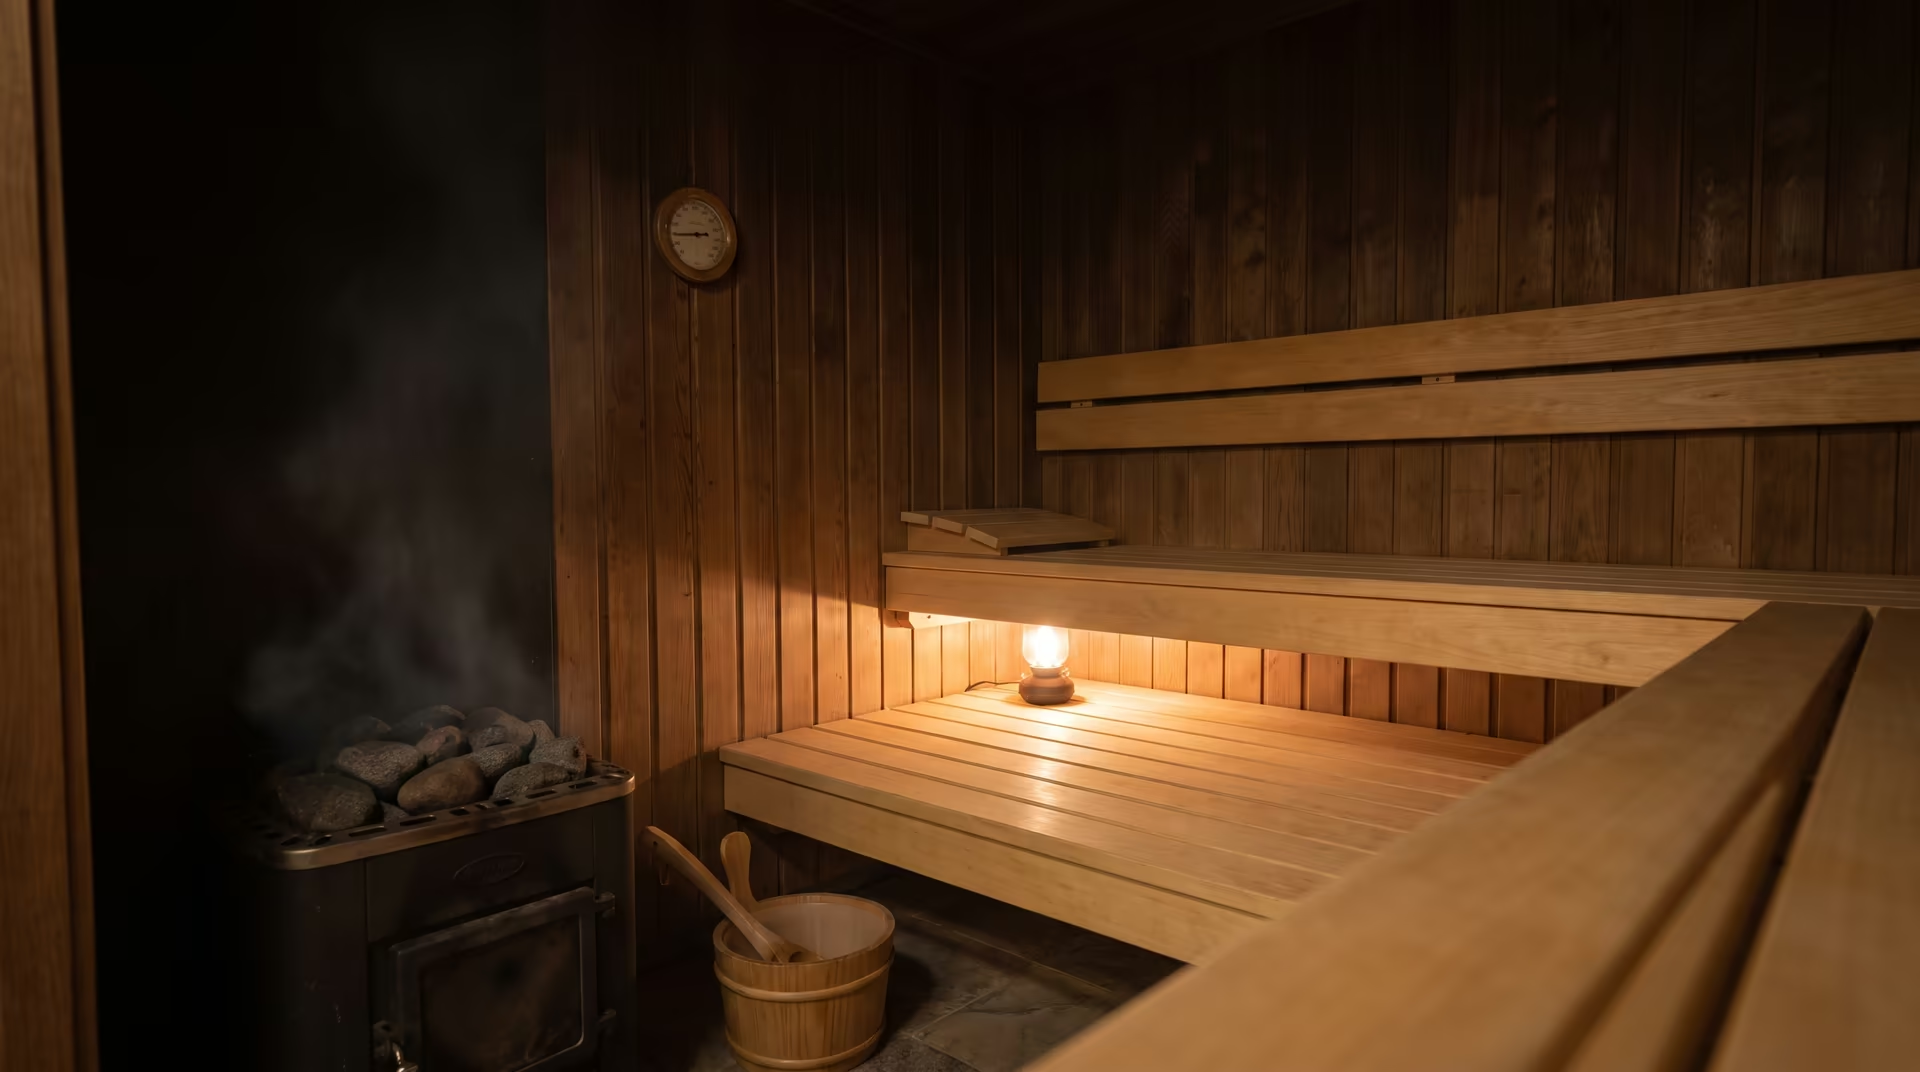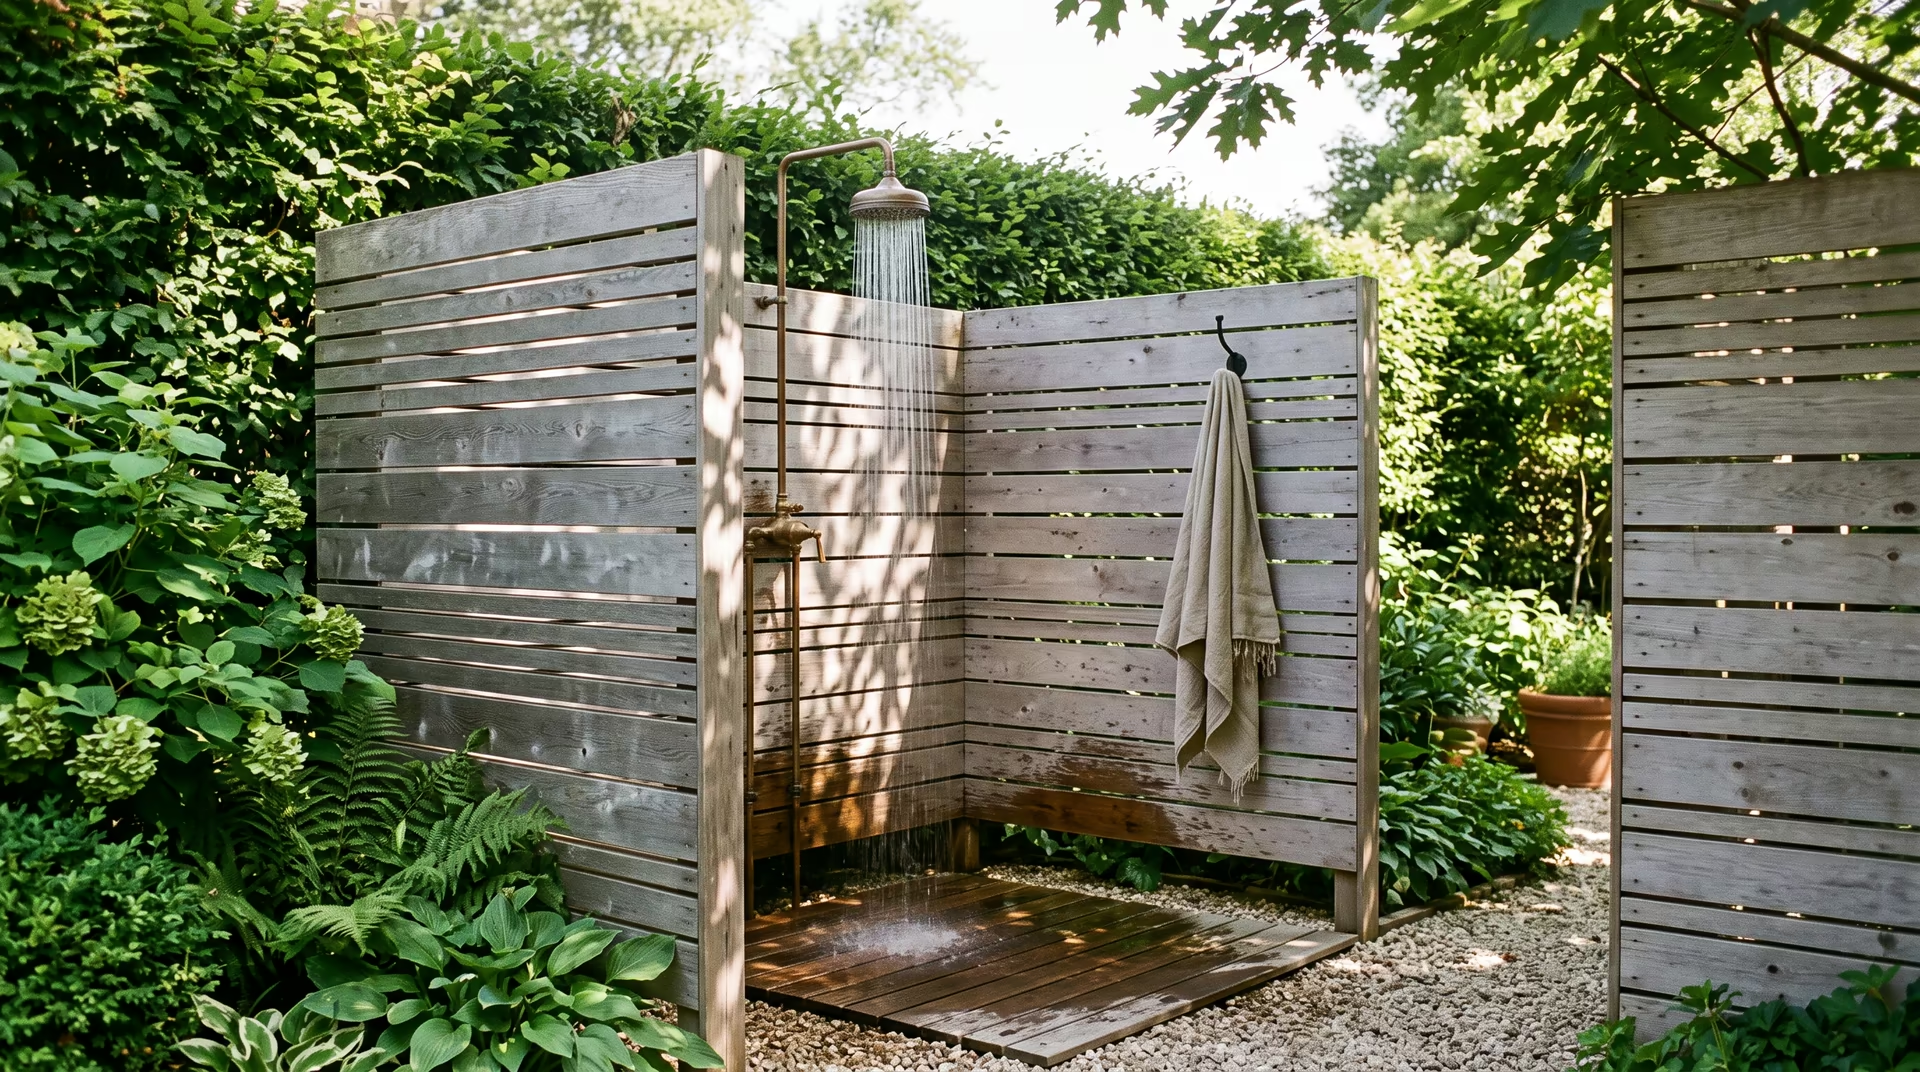
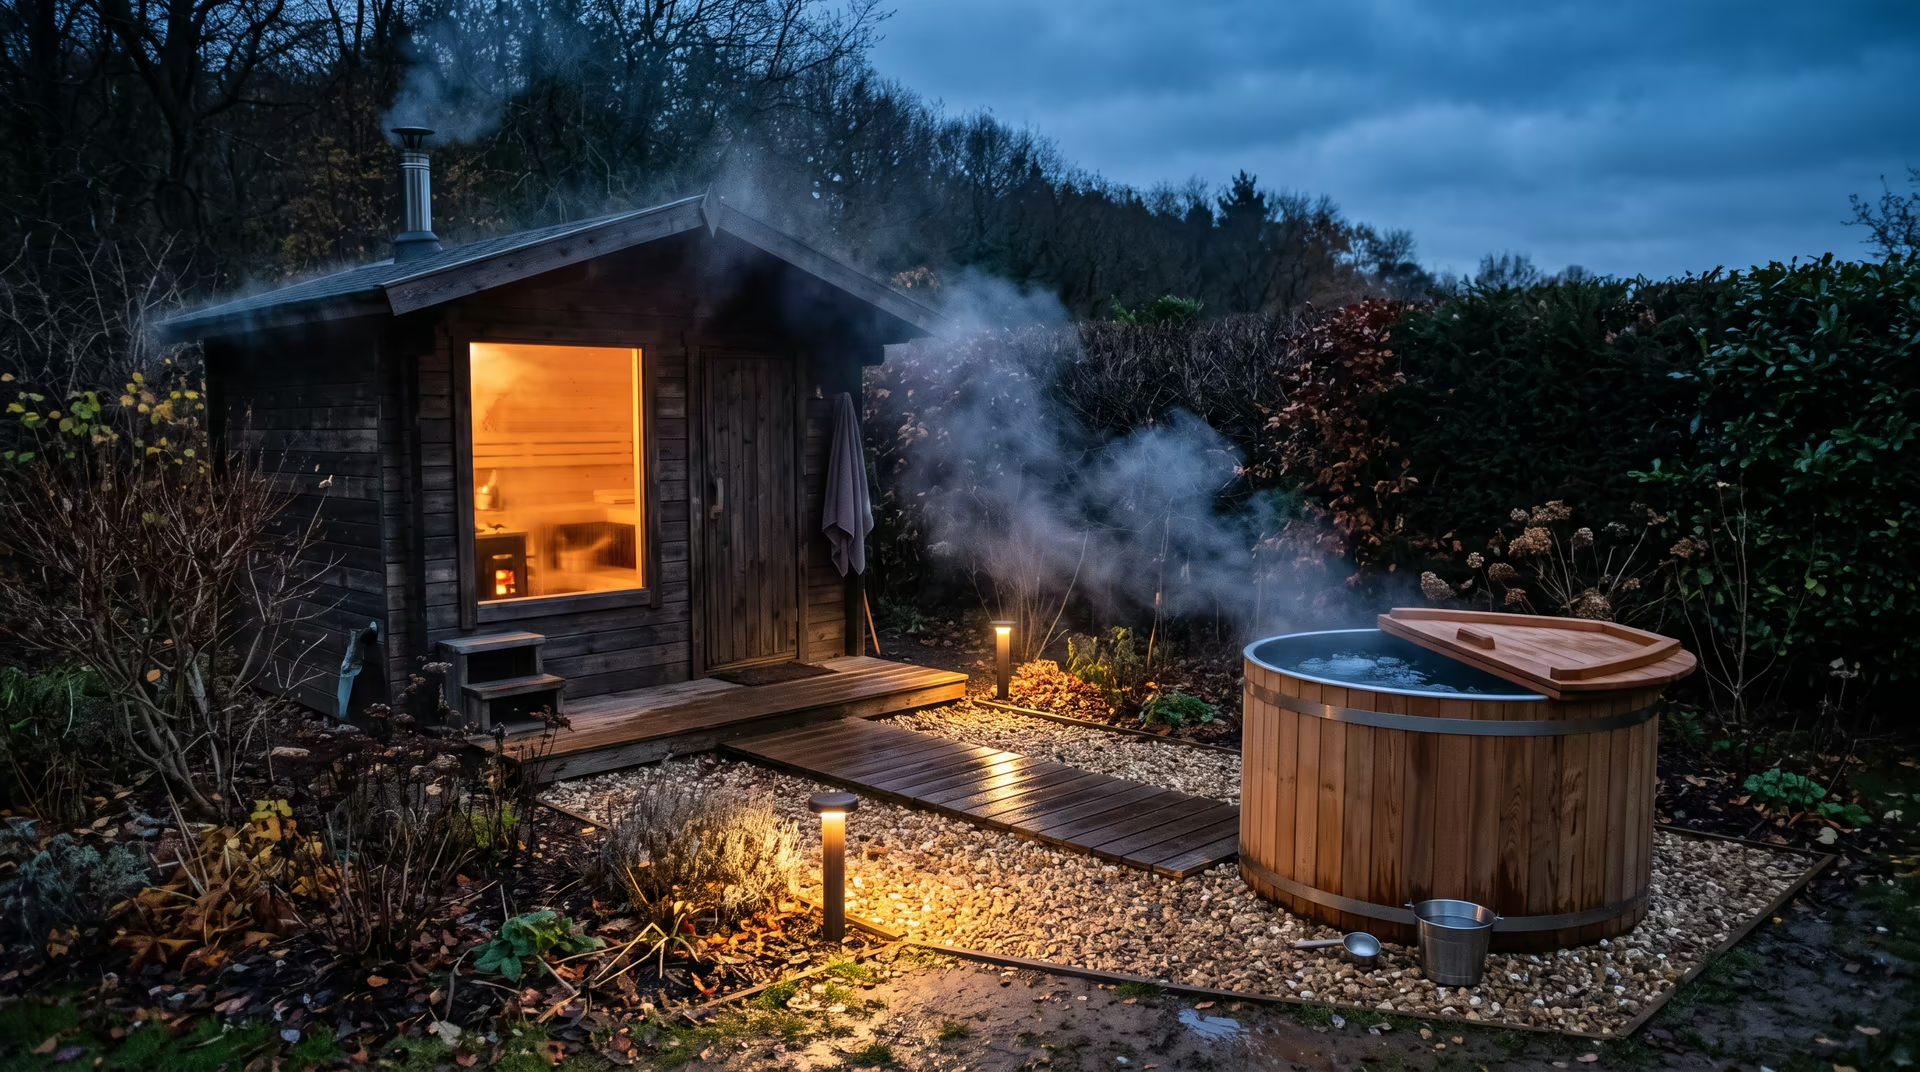
The pair is not simply two purchases made in the same month. Put in the wrong order or the wrong place, they get used for a season and then become expensive garden features.
This article is about the physical setup — where the two pieces go relative to each other, what they need from your electrical panel, how to keep cold water cold without spending a fortune on ice, and what the whole arrangement realistically costs. For the practice itself, the timings and the protocol, that is a separate matter.
Decide the Order: Which One First
Buy the cold first. This is the opposite of what most people do and it is the advice worth taking.
The cold plunge is dramatically cheaper to start with — a stock tank and bagged ice gets you a working version for a few hundred dollars — and it is the harder habit to sustain. If you are still plunging four months later, you have proven that you will use the pair. If you quit in three weeks, you have learned something valuable for the price of a stock tank rather than the price of a sauna.
The sauna, by contrast, is easy to enjoy and expensive to install. It is very rarely the piece that goes unused. Which is exactly why it should not be the piece that tests your commitment.
The one exception: if you already sauna regularly somewhere else — a gym, a club, a friend’s — you have your evidence. Build in whatever order suits the site.
Where the Pair Actually Goes
Placement determines whether this gets used in January, which is the only real test.
Keep the distance short. Fifteen feet or less between the sauna door and the plunge. Every additional step in the cold is a reason not to go, and the transition is supposed to be immediate anyway.
Cover the path. An overhang, a pergola with a solid section, an awning. Rain and snow between the two pieces is the difference between a setup used year-round and one used from May to September.
Solve privacy before you buy. Sight lines from neighboring windows and from the street. A slatted screen, a hedge, or careful orientation. This is the constraint people discover after delivery.
Think about winter access. A path you have to shovel is a path you will stop using. Position relative to your back door accordingly.
Consider the surface underfoot. Barefoot on gravel in February is a specific kind of unpleasant. Duckboards, a cedar deck section, or rubber matting on the transit route.
Orientation and shade. A plunge tub in full afternoon sun works its chiller considerably harder. A sauna window facing something worth looking at is a small thing that turns out to matter a great deal.
Choosing the Heat Side
Three realistic categories.
Barrel sauna. The most common outdoor option. Efficient to heat because of the shape, straightforward to assemble, and the profile is now familiar enough to read as intentional rather than novel. Typically $5,000 to $12,000 for a four to six person unit.
Cabin or cube sauna. More usable interior volume, easier to fit benches at two heights, and it sits better next to modern architecture. Costs more for the same capacity, generally $8,000 to $20,000.
Indoor infrared cabin. Fits in a spare room, closet or garage bay, plugs into a standard or 240V circuit depending on size, and heats in 15 minutes rather than 45. Runs cooler, so the experience is different. $2,000 to $6,000.
Sizing the heater
The rough rule for a traditional electric heater is one kilowatt per 45 to 50 cubic feet of interior volume, adjusted upward for glass and for uninsulated walls. A typical six by eight foot barrel sauna lands on a 6 to 8 kW heater.
Undersizing here is a common and irreversible mistake. A heater that takes ninety minutes to reach temperature turns a spontaneous session into a scheduled one, and scheduled sessions happen less often.
Choosing the Cold Side
| Option | Cost | Water temp achievable | Reality |
|---|---|---|---|
| Stock tank + bagged ice | $150–400 | Whatever the ice gives you | Works, but the ice logistics wear thin fast |
| Inflatable plunge tub | $100–300 | Ambient minus ice | Fine for testing, poor insulation, short life |
| Chest freezer conversion | $400–900 | 37–50°F, controllable | Cheap and effective. Requires real electrical care |
| Purpose-built tub with chiller | $4,000–12,000 | 37–60°F, set and forget | The version people keep using |
| Cedar or stainless soaking tub + external chiller | $6,000–15,000 | Fully controllable | The one in the photographs |
Two notes.
Insulation matters more than chiller size. An uninsulated tub in a warm climate will run its chiller continuously and still struggle. A well-insulated tub holds temperature overnight with the unit barely cycling. If you are building your own, insulate the sides and the base, and get a fitted lid.
The freezer conversion deserves a warning. It works, it is genuinely economical, and it also involves standing in water inside a modified electrical appliance. If you go this route, have an electrician put it on a GFCI circuit, keep the compressor and all wiring well clear of the water, and do not improvise the seal.
Chillers, Ice, and Keeping Water Cold
Ice is the obvious answer and it is only viable temporarily.
Run the arithmetic. Two bags per session at roughly $2 a bag, four sessions a week, is about $64 a month and a standing errand. A chiller costs $1,500 to $3,500 and eliminates both. Anyone plunging more than twice a week reaches the break-even point inside two years, and reaches the patience limit considerably sooner.
Sizing. Chillers are rated in horsepower, commonly 1/3 to 1 HP. What you need depends on tub volume, insulation quality, ambient temperature, and how cold you want the water. A 1/3 HP unit will hold a well-insulated 100-gallon tub in the low 40s in a temperate climate. In Arizona in August, size up.
Placement. Chillers make noise and need airflow. Not under a bedroom window, not in a sealed enclosure. Allow clearance on the intake and exhaust sides per the manual, and expect a hum comparable to an air conditioning condenser.
Most units are chiller-and-filter combinations, circulating water through a filter and often a sanitizer at the same time. That integration is worth paying for — it solves the next section as a side effect.
Water Quality and Maintenance
This is the part nobody mentions in the marketing and everybody deals with by month two.
Cold water grows less than warm water, but a tub used by bodies four times a week still accumulates skin cells, oils and bacteria. Left alone it goes cloudy and then it goes worse.
Filtration. A pump circulating through a cartridge filter, running a few hours a day. Rinse the cartridge weekly, replace it every few months.
Sanitizer. Options are ozone, UV, or low-dose chlorine. Ozone and UV are popular because they leave no smell or residue; a small chlorine or bromine residual is the most reliable and the least fashionable. Many owners run ozone plus a very low chlorine level, which is the belt-and-braces approach.
Hydrogen peroxide appears frequently in plunge communities as a chlorine-free alternative. It works to a degree, it needs regular redosing, and it is less forgiving of neglect.
Shower first. The single most effective water-care measure is rinsing before you get in. It roughly halves everything the filter has to deal with.
Drain schedule. Every four to eight weeks with good filtration and a lid, more often without. Keep the lid on when not in use — it keeps out debris, holds temperature, and cuts the chiller’s workload significantly.
Electrical: The Part People Underestimate
This is where budgets and timelines are most often wrong, and it is not a place to improvise.
A traditional sauna heater of 6 to 8 kW needs a dedicated 240V circuit, typically 40 to 60 amps, hard-wired. On an older panel this can mean a service upgrade, which is a five-figure conversation in some houses.
An infrared cabin may run on a standard 120V 20A circuit for smaller units, or 240V for larger ones. Check before you buy, not after delivery.
A chiller generally needs a dedicated 120V 15 or 20 amp circuit. Sharing it with something else will trip breakers.
Everything outdoors and anywhere near water needs GFCI protection, weatherproof enclosures, and conduit rated for the location.
Get an electrician and get a permit. Beyond the safety argument, unpermitted 240V work discovered during a home sale is a real problem, and homeowners insurance is not sympathetic about fires traced to a DIY sauna circuit.
Budget $1,500 to $5,000 for electrical on a typical outdoor installation, more if the panel needs work or the run to the back of the property is long.
Drainage, Decking and the Wet Zone
Water leaves the tub every time someone gets out, and it has to go somewhere.
The base. A compacted gravel pad is the usual and often the best answer — it drains, it costs little, and it accommodates minor settling. A concrete pad is more permanent, needs a slope away from the sauna, and is the better choice if a chiller sits alongside. Pavers on gravel split the difference.
Drainage away from the sauna. Wood and standing water are a poor combination. Grade the site so runoff moves away from the structure, and add a French drain if the ground is heavy clay.
Where the drained water goes. A hundred gallons emptied every six weeks is fine on a lawn. Do not aim it at a foundation, and check local rules if you use chlorine — some municipalities have opinions about discharge.
Non-slip everything. Wet feet, cold hands, low light. Textured decking, rubber mats at the transitions, and a handrail at the tub if there is any step involved. This is the most likely way someone gets hurt in your backyard.
What the Whole Setup Costs
| Tier | Total | What you get |
|---|---|---|
| Testing | $500–1,500 | Stock tank or freezer conversion, bagged ice or basic chiller, existing shower or gym sauna for heat |
| Practical | $8,000–18,000 | Barrel sauna, insulated tub with chiller, gravel pad, electrical, basic screening |
| Full build | $25,000–60,000+ | Cabin sauna, custom cedar or stainless plunge, deck, covered path, lighting, landscaping, permits |
The middle tier is where most functioning home setups actually land, and the gap between it and the top tier buys appearance and durability rather than a better experience.
Add roughly $50 to $150 a month in running costs for electricity across both pieces, depending on climate, insulation and how often you use them.
Common Questions
Do I need a permit for a backyard sauna and cold plunge?
Usually for at least part of it. Rules vary by county rather than by state, and the electrical work almost always requires one even when the structure does not. Call your local building department before you buy — it is a fifteen-minute phone call that occasionally saves a five-figure mistake.
Can I put a sauna and cold plunge in a garage?
Yes, and it is a good option in cold climates. You will need ventilation for the sauna, a plan for water on the floor, and enough clearance around the chiller. Garage installations are often simpler on the electrical side because the panel is nearby.
How cold should the plunge be?
Between 50 and 59°F for most people. Colder is not better past a point — the panic response works against the calm you are after, and the research does not favor extremity.
How much does it cost to run a home sauna?
Roughly $0.50 to $1.50 per session for a traditional electric sauna, depending on local electricity rates and heater size. Infrared runs cheaper. A chiller on a well-insulated tub adds somewhere around $15 to $40 a month.
Can I use a hot tub instead of a sauna?
It is a legitimate heat source and better than nothing, but the water temperature ceiling of around 104°F is far below sauna range, so the stimulus is much milder. Running costs are also considerably higher.
How long does installation take?
A delivered barrel sauna kit is typically one to two days of assembly. The pad, electrical and permitting are what stretch the timeline — expect four to ten weeks from order to first session on a normal outdoor build.
Keep Reading
- What Contrast Therapy Actually Is — and How to Do It at Home — The protocol: how long, how hot, how cold.
- Barrel Sauna vs. Cabin Sauna: How to Choose an Outdoor Sauna — Which sauna shape suits your site.
- How Much a Home Sauna Really Costs — Budget breakdown for the heat side.